Your First Verification
This guide walks you through creating a verification case, seeing the subject's experience, and reviewing the results.
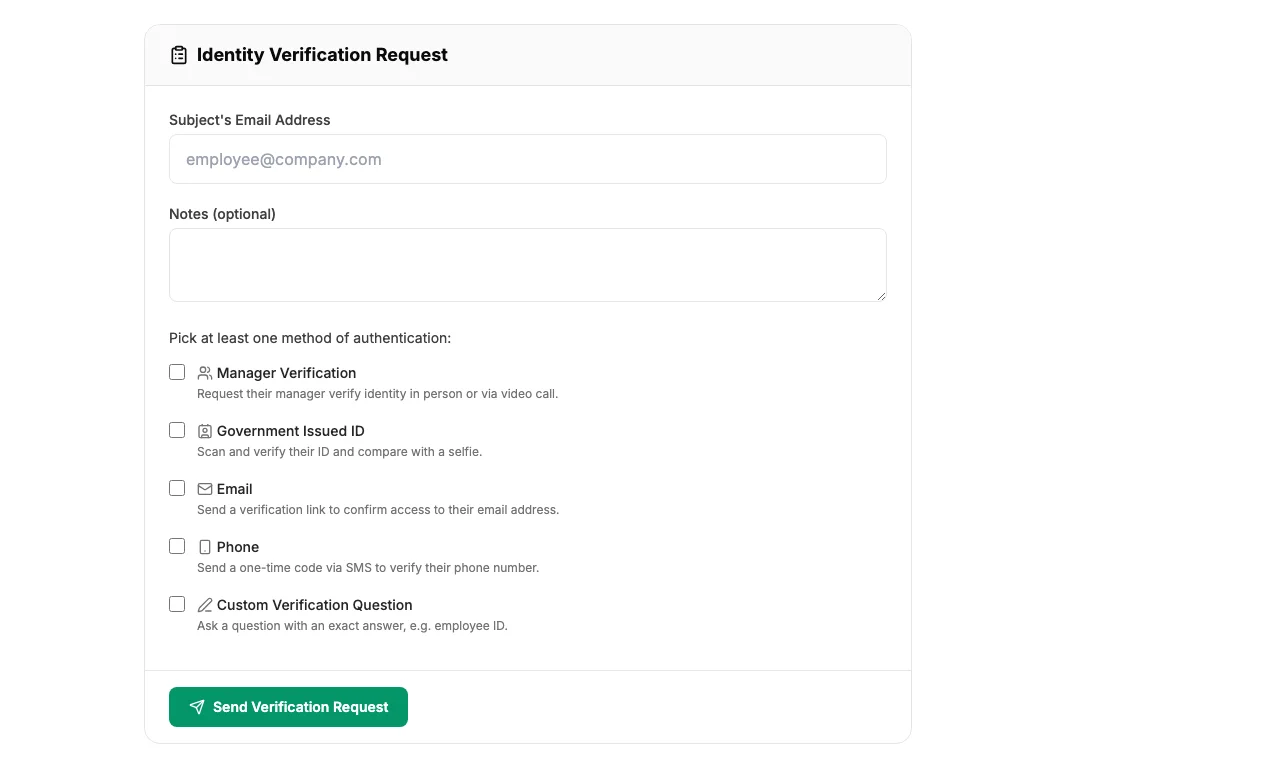
Step 1: Create a Case
- From the dashboard, click New Case.
- Enter the subject's email address - this is the person who needs to verify their identity.
- Select one or more verification methods:
- Email - subject confirms access to their email
- SMS - subject enters a code sent to their phone
- Government ID - subject uploads a government-issued document
- Selfie - subject takes a live photo for face matching
- Custom Question - subject answers a question only the real person would know
- Manager - the subject's manager confirms their identity
- Click Create Case.
Step 2: The Subject Verifies
The subject receives an email with a unique verification link. When they click it, they see a step-by-step checklist of the methods they need to complete. Each step is completed one at a time.
You can monitor the case from your dashboard - you'll see each step update in real time as the subject progresses.
Step 3: Review the Results
Once the subject completes all verification steps, the case automatically moves to Closed status. If any step fails or the case expires, it's marked accordingly.
Open the case detail view to see:
- The status of each verification method
- Timestamps for every action
- The full case history (audit trail)
Next step: To learn more about each verification method and when to use it, read Verification Methods.